How to Solder On Your Own and Get High Quality Results
Soldering is a thermal process in which a non-detachable connection between materials is created using a solder. The solder consists of tin and other metals such as copper or silver and is an easily meltable metal alloy that serves as a connecting material between the materials.
What Soldering Processes Are There?
Soldering processes are divided according to different aspects based on DIN 8505. Soft soldering is soldering with solders whose liquidus temperature is below 842°F. Hard soldering is soldering with solders whose liquidus temperature is above 842°F. The following soldering processes exist:
- Flame soldering
- Furnace soldering
- Electric resistance soldering
- Induction soldering
- Reflow soldering
- Laser soldering
- Iron soldering
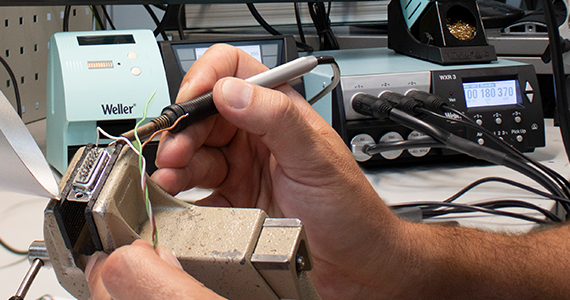
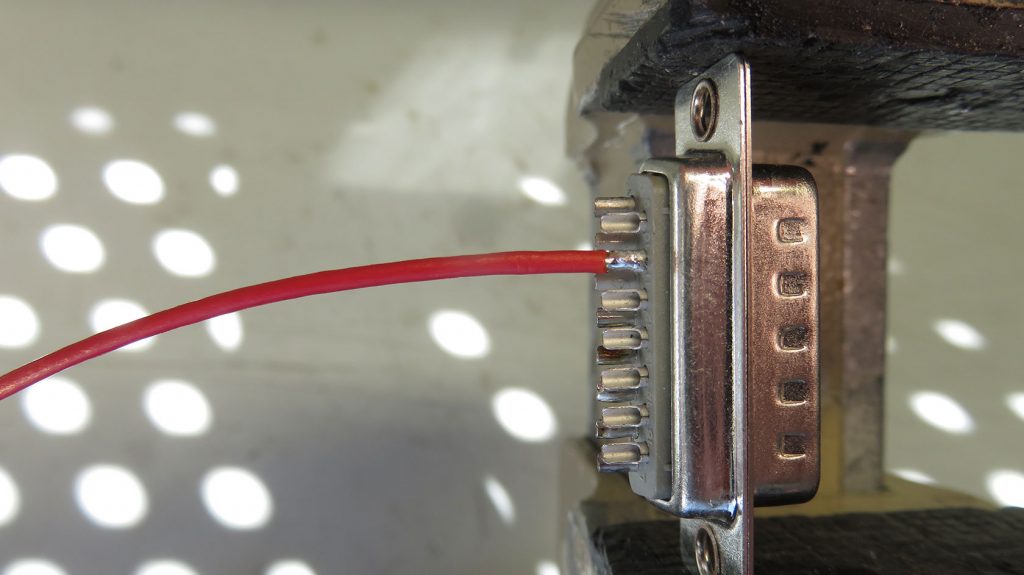
Solder With the Soldering Iron
In this post, we will concentrate on soldering with the soldering iron (aka iron soldering) and give you tips on how to make high quality soldered connections yourself.
Screw, crimp and solder connections are suitable for making electrical connections. During repair work, for example, one does not always have exactly the right crimping tool at hand for every crimp contact, or the materials to be processed only allow one solder connection.
The connection technology of soldering can be used flexibly. Soldered connections are usually preferred where the electrical conductivity must be ensured over a long period of time or when the connection point is to be permanently sealed.
At first glance, the soldering process looks simple, but on closer inspection it is a complicated process that needs to be mastered. The contact, which is tinned by hand, is dependent largely on the person carrying out the work as well as on the temperature, the solder used, the size of the components to be connected, and is subject to certain fluctuations. Correct soldering has to be learned. If one observes a few criteria and takes time to practice, soldering is not a problem.
Below, we will show you how to bypass common soldering errors and what you should definitely pay attention to during the soldering process.
Common Soldering Mistakes
1. The temperature is too low on the soldering iron
The solder does not go into the flow phase. The result is that the solder joint has poor or no contact at all.
2. The temperature is too high on the soldering iron
Temperatures that are too high or a soldering tip that remains on the soldering point for too long leads to temperature damage. The insulation of the wires can melt or the components to be soldered can be damaged.
3. Premature removal of the soldering tip from the soldering point
The flow phase can only take place partially or not at all. The binding phase, which starts too early, ensures faulty contact.
4. Cold solder joint
Applying the solder to the tip of the soldering iron and then transferring the solder bubble to the solder joint will not produce a reasonable result. Since the solder joint is cold, the solder cannot bond with the component.
5. Movement of the components in the cooling phase
If the components are moved during the cooling phase, the solder breaks at the point where it is still soft. The result is not only cracks in the solder joint, but also poor contact (so-called cold solder joint).
The 3 Phases of the Soldering Process
Before starting soldering , it is essential to know what exactly is going on during the soldering process. The soldering process consists of three phases.
Important: Only if all three phases are carried out correctly is the soldering process successful and the connection of the parts to be joined is of high quality, stable and conductive.
Phase 1: Wetting
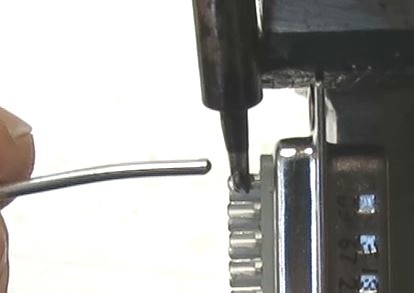
In the first phase, the soldering point is heated with the soldering tip and then solder is added. Make sure that the soldering point is completely wetted with solder.
Phase 2: Flow
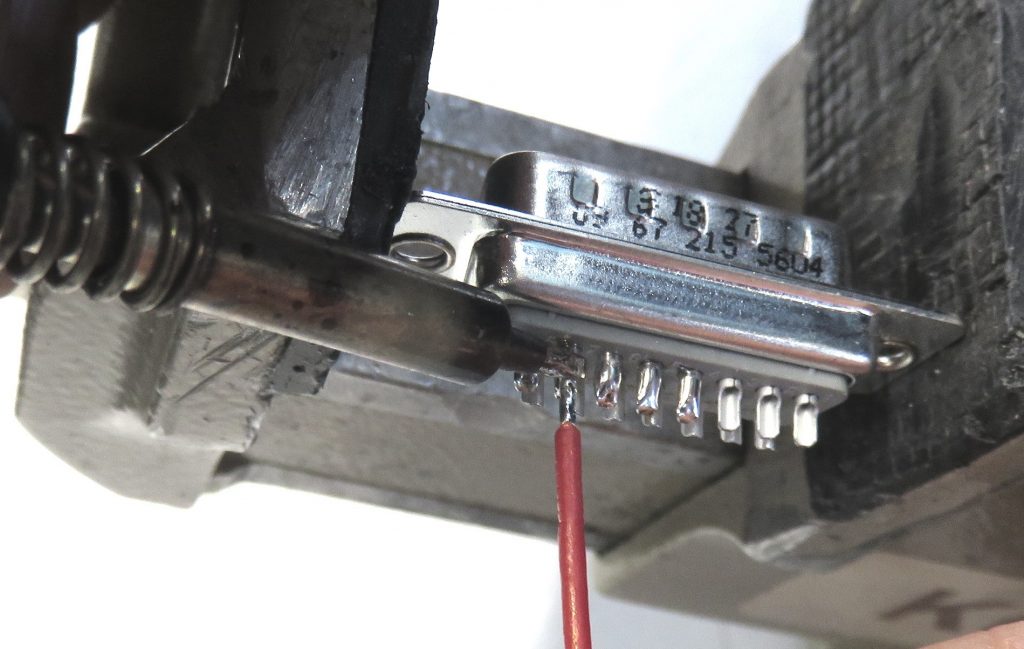
In the second phase, the liquid solder must flow into the spaces between the solder joint. In this way, a large-area connection of the workpieces is established. During this phase, the tip of the soldering iron is removed from the solder joint.
Phase 3: Bind
During the binding process in the third phase, the solder joint cools down and hardens. The workpiece must not be shaken under any circumstances during this phase, as this would lead to cold solder joints. We describe these in more detail in the next section.
Practical tip: The entire soldering process should take 2 to 5 seconds (depending on the size of the solder joint). If the solder still does not go into the flowing phase after 5 seconds, the soldering process must be interrupted and the correct temperature selected.
Interested in speaking to an igus® expert? Contact us online or call us at 1(800) 521-2747.